-BjC_FuvC.svg)

Design with AI.Without looking AI-made.
Here is a practical workflow for creating AI-assisted designs that still feel original and intentional.
No coding experience. No Figma. No endless prompts. Just ChatGPT, Pinterest, Codex—and your own taste.
From visual references to a working page
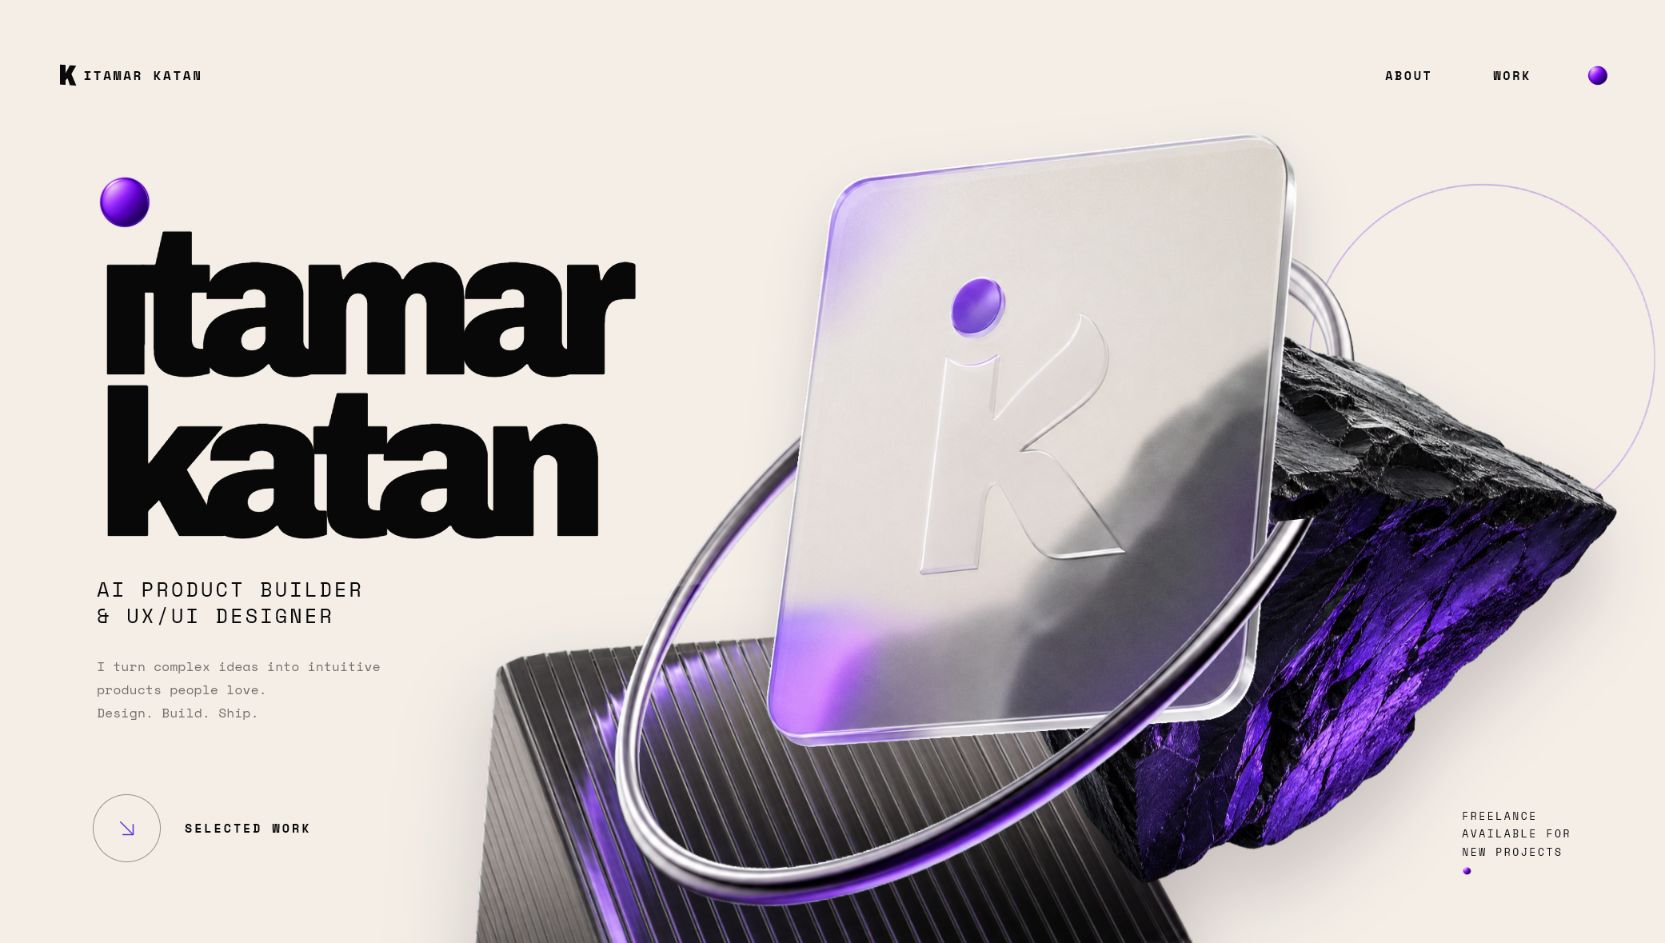
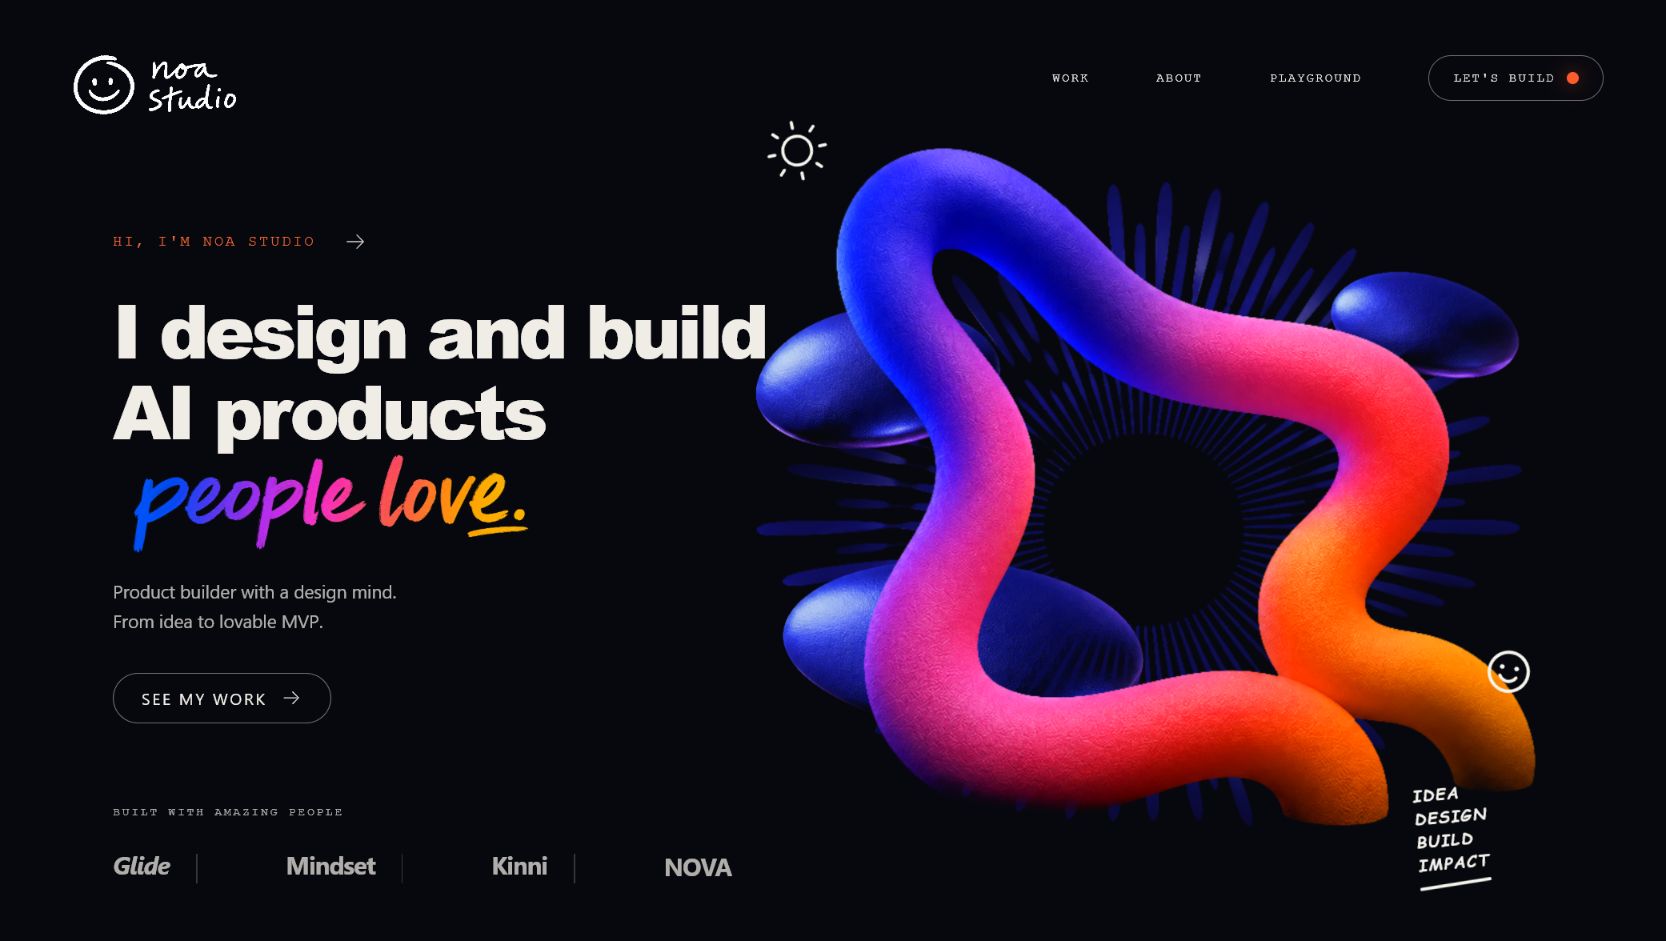
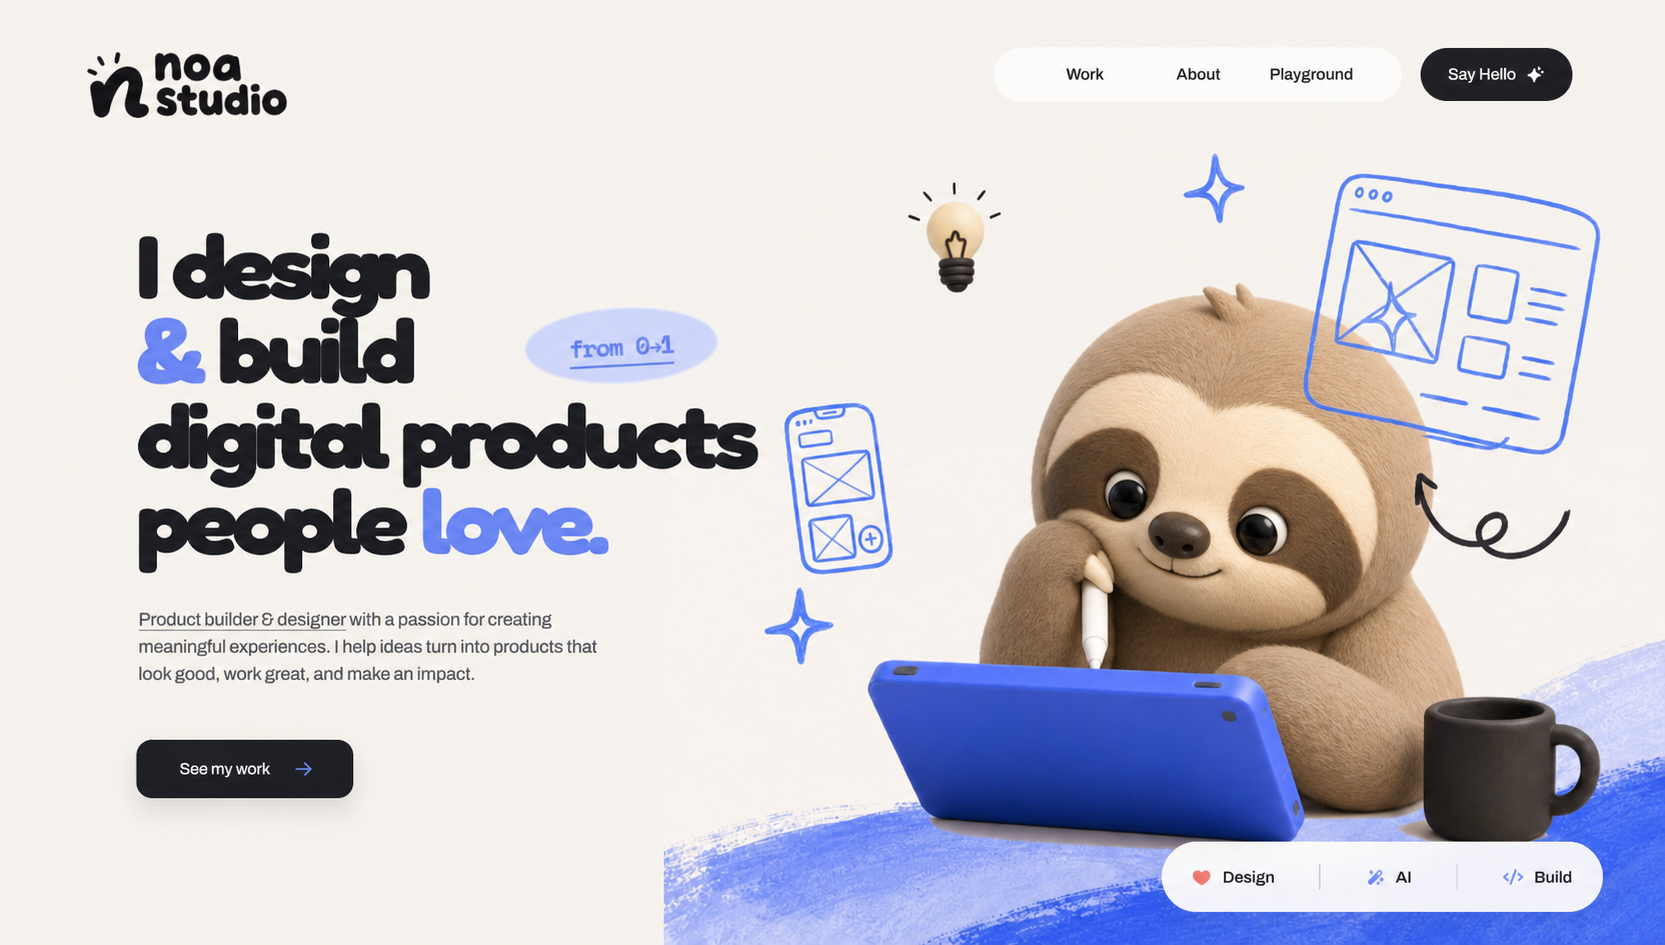
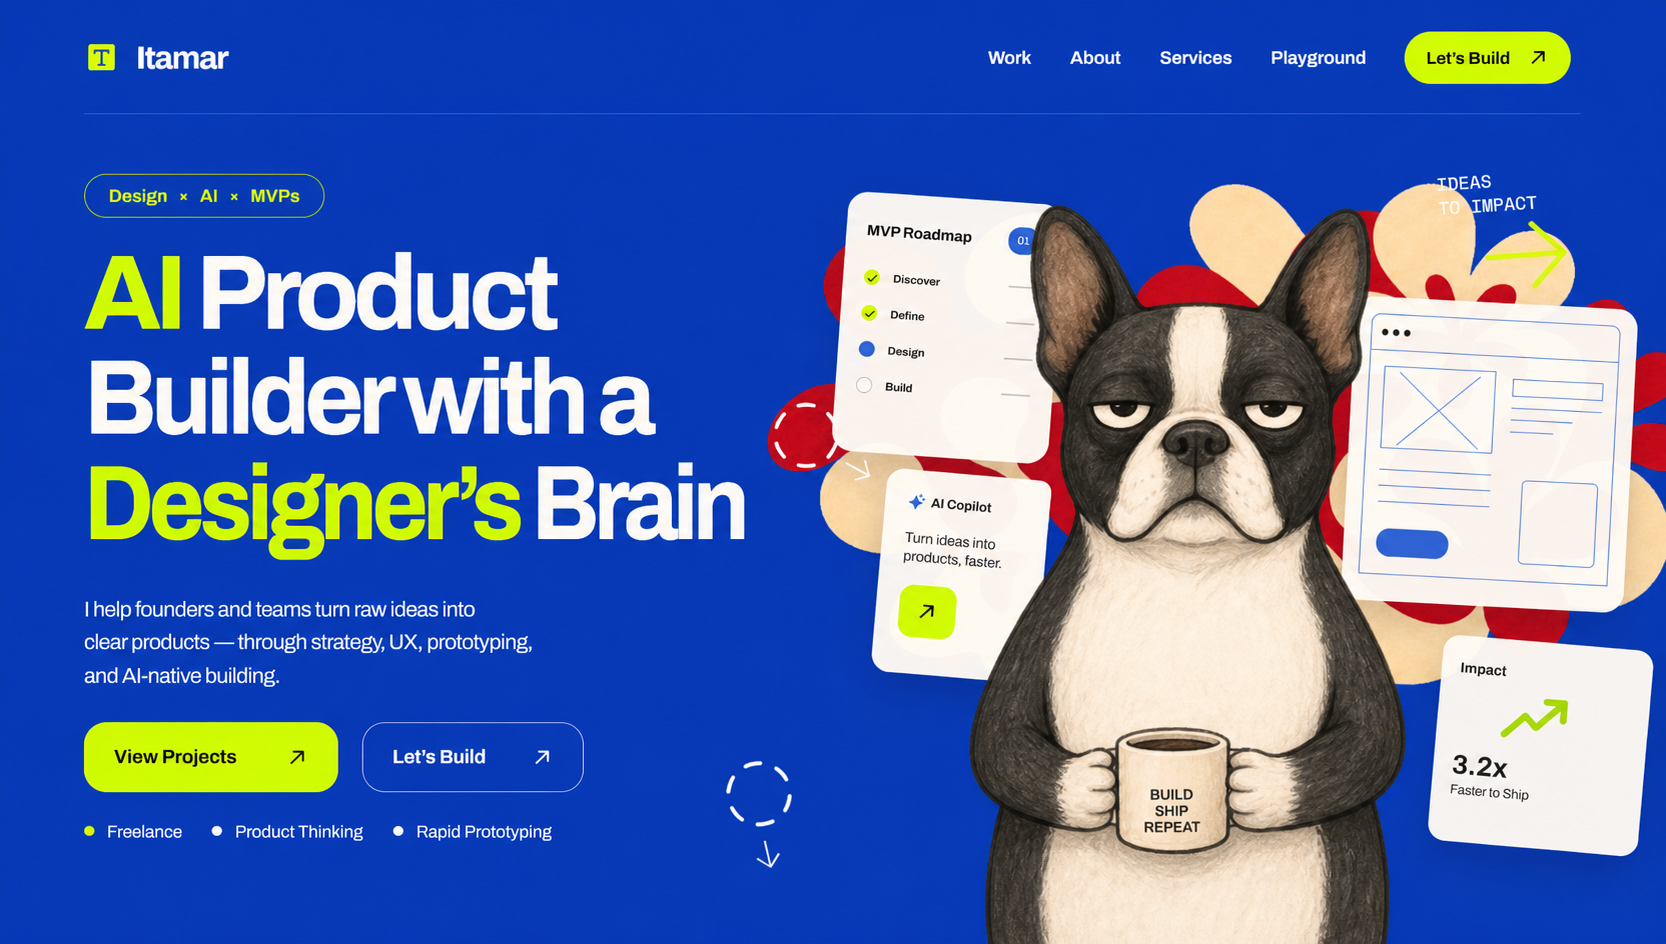
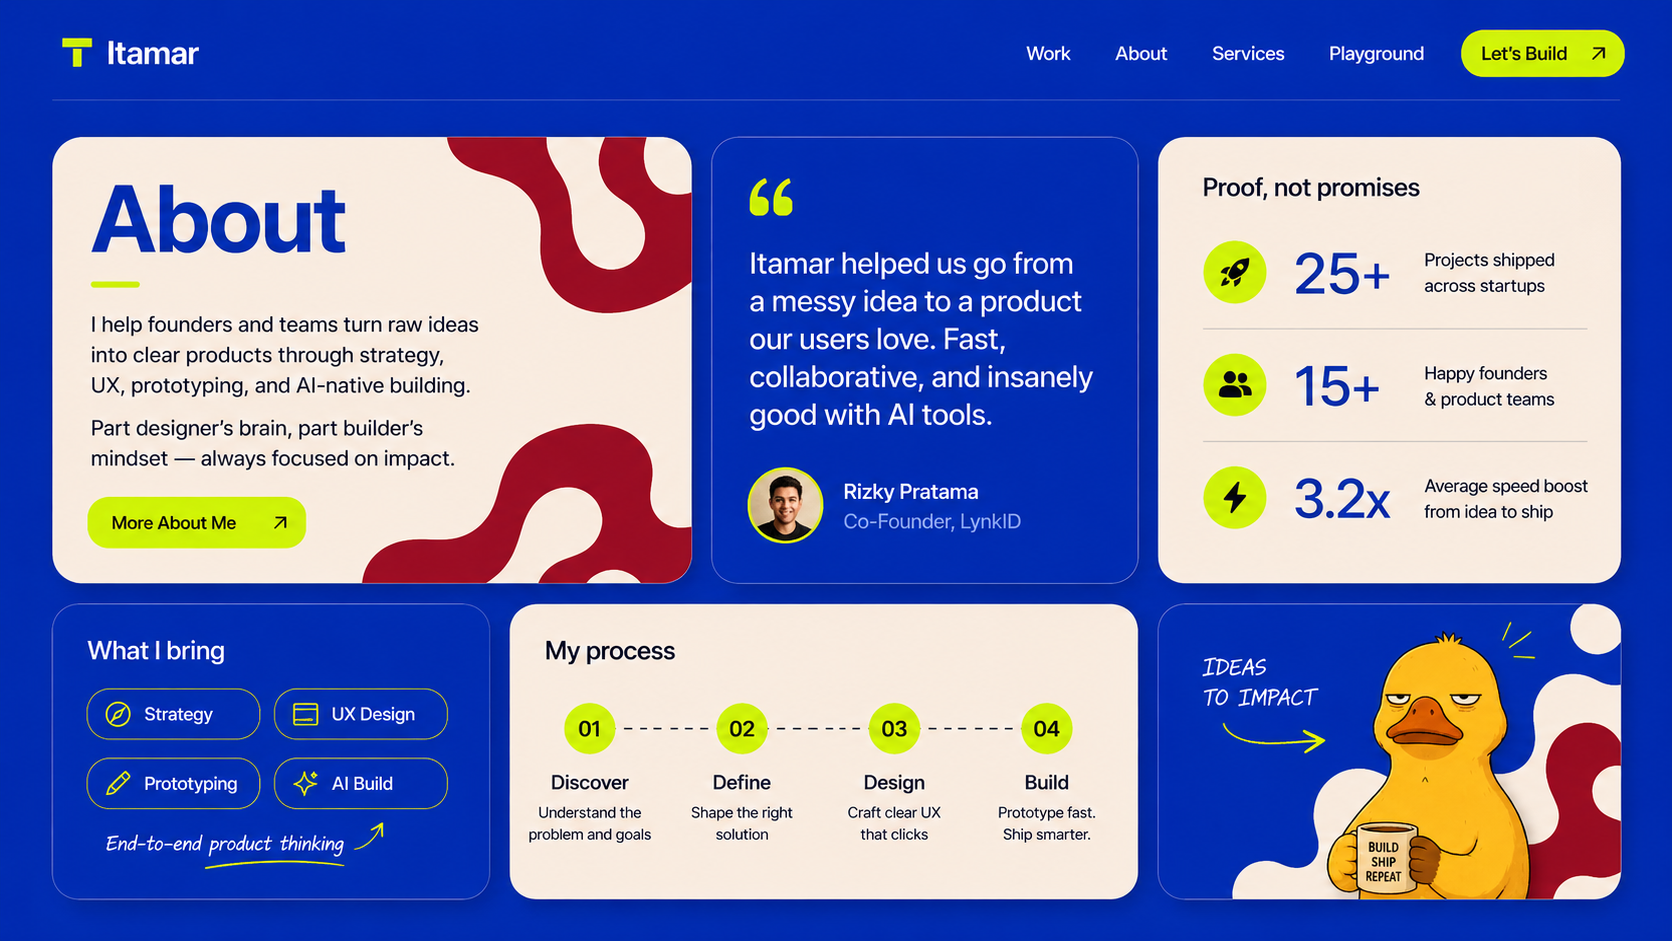
Same workflow.Four different designs.
The same workflow produced four completely different hero sections: bold, minimal, sculptural, and playful.
There is no single “AI aesthetic” to discover. Your taste is what steers the tools toward a clear, distinctive visual direction.
Build your visual language.
Start on Pinterest. Find 3–4 references that feel like they belong to the same world—websites, posters, packaging, photography, fashion, or architecture.
Search for anything and take inspiration from anywhere. References that simply capture the mood or visual language you want to create are completely valid. The only thing that matters is that the references you choose make sense together.
Do not ask AI to copy. Explain what to learn from each reference: the typography, meaning how the text looks; the color palette, meaning the main colors; and the layout, meaning where things sit on the page.


Give ChatGPT the full picture.
For this stage, use ChatGPT in your browser. You can view several images side by side, discuss each reference, and keep refining the concept in one conversation.
- 01What are we designing, and who is it for?
- 02What should the visitor understand or do?
- 03What should the design make people feel?
- 04What should we borrow from each reference?
Show ChatGPT the range you want, not only one polished answer. These two Meraki directions communicate two useful boundaries: a clean orbital composition and a richer product-system layout.
One direction. Two iterations.
Now the goal changes: we are no longer exploring unrelated variations. We take the clean direction from the previous stage and improve the same idea twice, until it becomes the final concept.
“Too busy” is vague. “Remove the two background cards and enlarge the main character” gives a clear next step.
Name the colors, character, typography, or layout decisions that must stay.
Note what improved and what was lost before asking for the next change.
Keep the idea. Make it brighter and cleaner.Make the character the clear focal point.Try three layouts without changing the visual language.Still stuck? Start a new chat with the same prompt and references. A fresh result can reveal a better direction.
Turn the image into a blueprint.
Now move from ChatGPT to Codex. Use the Image to Code skill: if it is not available, open Plugins and install it. Then attach the final concept image and send the build prompt.
Create and open a new project folder in Codex.
Open Image to Code. If it is missing, find and install it from Plugins.
Attach the final concept image.
Ask for the closest possible visual match, with every asset created separately.
Run it locally and compare it with the image.
Request precise fixes, then test tablet and mobile.
The first build may get close, but the final quality comes from comparison. Review spacing, scale, image crops, typography, and responsive behavior one detail at a time.
Repeat the workflow. Keep the visual language.
Return to the ChatGPT conversation where you created the first concept. Design each new section there, one at a time, so the visual context stays intact.
For features, pricing, customer stories, forms, navigation, or onboarding, collect examples from strong websites and relevant competitors. Use familiar patterns so people understand the interface quickly, while keeping your own brand, content, and visual language.
This takes time. There is no magic prompt. Repeating the workflow for every section is what turns one striking hero into a coherent, usable website.
Design it.Build it. Put it live.
AI makes production faster. Your taste, clear decisions, and willingness to refine are what make the result feel like yours.